11 Best Tanning Tips Your Skin Needs
*Disclaimer * There may be an excess of puns in this article for no rhyme or reason (oops there's one there)...

1. Get that dead skin outta here!
Just like most thing in life, a perfect tan comes down to how well you’ve prepped. And really, it’s not as time-consuming as you’re telling yourself. Whatever day you plan to tan, simply exfoliate the day before. See? Easy! Exfoliating beforehand will help create an even base for your tan to take hold and ensure it won’t be all patchy. Give yourself a good scrub-a-dub-dub with a physical exfoliant like a, loofah or a coffee scrub, or you can even opt for a chemical one such as an AHA body wash – now isn’t that fancy? Do both if you’re feeling flaky.
2. How to remove and prepare for tan – milky sMOOth!
For skin straight out of a dairytale (wow, that was good), we like to exfoliate with a milk wash – and we’re not talking about our very popular Milk Wash. We’re talking about real milk! Grab a glass of milk (we suggest full cream for this – not the almond or soy variety) and place 1-2 lemon slices into the milk. The lemon activates the AHA (Lactic Acid) in the milk and this gently dissolves the glue that holds dead skin cells together, allowing them to be set free and washed away. You can also soak a cloth in the milky lemon mixture and coat your body with it or use it just on your face. Mmmmm milky sMOOth skin.

3. A match fade in heaven.
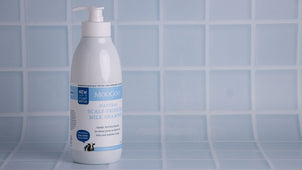
How long your tan lasts completely depends on how hydrated your skin is (the same goes for perfume btw – bet you didn’t know that!). If your skin is well hydrated, then your tan will last longer and will even fade away more evenly. Whereas, if you skin is dehydrated it won’t hold the tan as well and will probably fade in an undesirable, patchy fashion. For an even steven, natural-looking fade, try to keep your skin as hydrated as possible. This means moisturising every day, twice a day if you’re committed, using products that aren’t heavily scented. We recommend (and because it’s on theme) using our Full Cream Moisturiser daily and watch how well your tan sticks around.
4. Shave the date!
Have you ever spent time doing your tan only to later notice brown and orange little dots all over your legs? This just means that you’re shaving too close to your tan application time. To easily avoid this, we recommend shaving the day before you tan, when you’re doing the exfoliation business is best, not on the same day that you tan. Also, shaving after a good exfoliation gives you the smoothest, bump-free finish.

5. Cool it, buddy.
We all love a hot, steamy shower in the morning, but did you know that hot water can dry out the skin? No bueno for a tan-o. To avoid this, we always recommend keeping showers a bit on the cool side. It doesn't have to be cold, but if it's causing the mirror to fog up it's probably too hot. Cold showers are also trending right now. Just Google "Ice Man Wim Hof" to find out why cold water is now becoming super cool (yes, pun intended). If this isn’t something you can get onboard with, at least finish your shower with a burst of cold water – do it for the tan! This will help close your pores so the tanning pigment can’t get trapped and cause those dreaded orange and brown dots we mentioned earlier.
Also, for days after you’ve applied your self-tanner lotion, keep your showers at a cooler temperature as excessive heat will strip your sunless tan and leave your skin high and dry. *insert another shameless plug for our Full Cream Moisturiser. Extra tip! if you absolutly cannot tolerate cold showers can we at least suggest doing it the first time you wash your tan off. This will not only help to not strip back any colour but it will lock in the tan as well as your skin's moisture, which in turn helps your tan last longer.

6. Moisturising is a joint-effort.
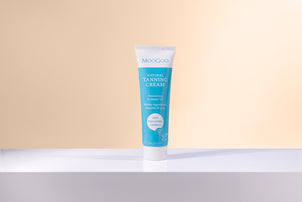
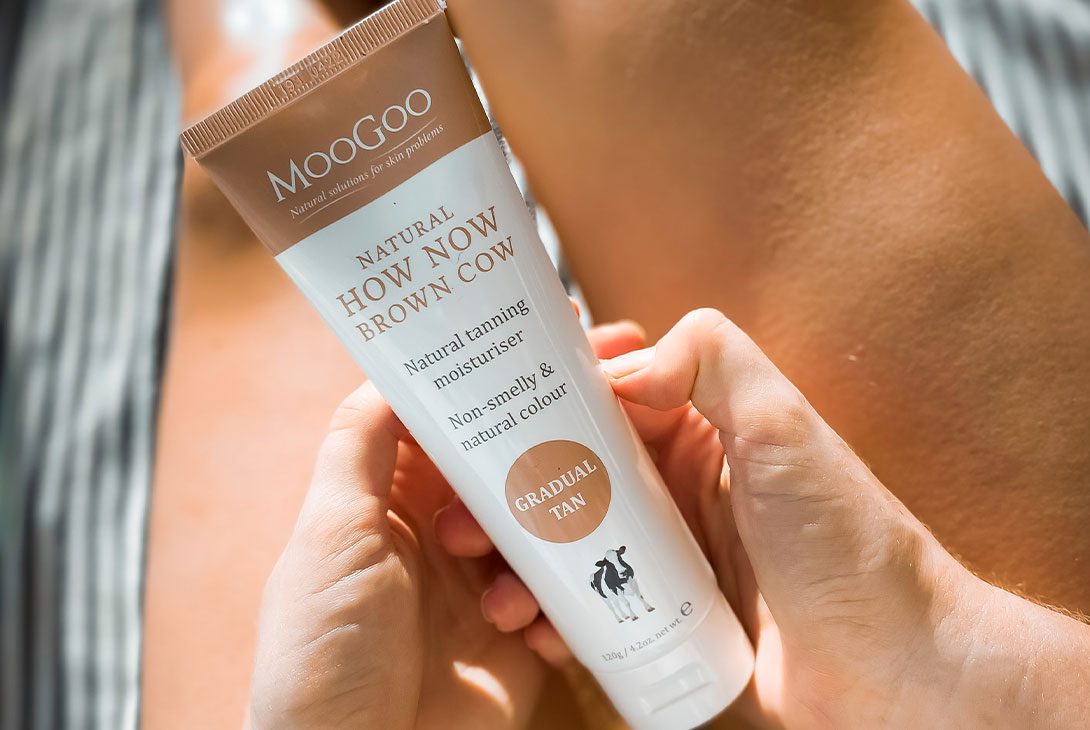
We’ve already covered how to get your tan to fade as evenly as possible, but this will help with that even more. Before you apply your self-tanning lotion, apply a little bit of regular moisturiser to your joints, inside and out. These are the spots where things get a little dryer and product tends to build up there. There’s nothing worse than being left with abnormally darker knees, knuckles, elbows, ankles and wrists; ladies (and tan-loving gents, we’ve all been there!) Again, we usually give this job to our Full Cream Moisturiser – and of course, it works wonders! And then you can get to the business of tanning and apply your How Now Brown Cow Gradual Tan everywhere, and over the top.
7. Ad-mitt it! You may be missing the point!
A tanning mitt is a life saver because no one likes having strangely tanned palms (or do they…). A tanning mitt helps distribute tanning product evenly for a natural-looking finish. But that’s not all, folks! When you’re using your mitt for your face, apply the product into your mitted palm and clench your mitted fist like you just drove to the grocery store 10 minutes past closing time with no dinner planned. Uggggh! This will press the product into the top half of your mitt and dilute it down in the process. Now you’ll have way more control in the application process and can lightly rub the product over your face and avoid being too heavy-handed.

8. You came, you saw, you contoured.
Did you know that you can create a contoured face, and body with self-tanner? Sounds like a dangerous game but if you get it right, the results can be wonderous. If you’re after a more sculptured look but hate the idea of redoing it every day and surgery isn’t your thing, simply add some tanning cream to an angled contour brush and place it under your cheekbone, jawline and forehead a couple days in row. With a bit of practise (and a pair of big sunnies and a face mask in case you mess it up real bad), this technique will give you a nice and natural sun-kissed hue right in the spots that be making things pop. Who doesn’t love a longer-term shortcut? This will change your life tan queens – told you we had the goods.
9. Blend a helping hand.
Tanning your hands and feet can be a finicky business. The key to good hand and foot colour is to know that less is always more. We recommend leaving your hands and feet until last and only use the leftover residue on the mitt to do its subtle work. The reason it’s so important to be careful with these extremities is because they are the easiest places to mess up and can be the obvious tell-tale signs a (bad) fake tan. Once the residue has been applied, take a make-up brush (we personally love the Kabuki Brush from MooGoo Makeup because its small and fluffy and buffs really well) and blend your tanning cream or mousse of choice onto your wrists, toes, fingers and the tops of your hand and feet. And voila!

10. Re-Apply yourself and you can do anything!
As our How Now Brown Cow self -tanner is a gradual’ tanning lotion, we recommend applying it every day, or every second day, until you’ve built up your colour to your desired shade. Once you’ve reached your ideal shade, apply 1-2 times a week (or more if you need to) for maintenance. And don’t forget to keep moisturising daily to make it last longer. Refer to tip #3 if you need a reminder about how to achieve an even steven, natural-looking fade.
11. Powder to the people.
And of course, we save the best for last. This is our favorite tanning hack of all! All you need is a little dish and some powder, preferably one that doesn’t contain talc, and you can use a dry shampoo powder too if you have one – we make one of those too, just saying. Simply, sprinkle the powder into the dish and with a makeup brush, dust it over any crevasses, basically anywhere on your body that there is a line or a crease. This means ankles, elbows, inner elbows, knees, back of the knees, toes, wrists, hands, cleavage etc. The powder will soak up any excess tanning lotion that likes to meet up and mingle in these areas. This should put a powdery stop to these annoying little tan creases.
There you go! Now you’ll have golden glowy skin that says “not only do I OWN a cold press juicer, but I have enough energy to USE IT and CLEAN IT regularly”. Now that is some smugly, radiant golden skin! Did we miss any of your favourite tanning tips or is there something else you wanted to know about? Let us know in the comments below!


