Up Your Technique - Face And Complexion
With all the TikToks and 13-year-old makeup influencers creating some serious looks, it's easy to get overwhelmed when its time to do our own makeup. Yes, makeup is a type of art but we believe that everyone can get good at it with some practice and good tips and tricks. So we decided to find the best ones and created our 'Up Your Technique Series'. Here are the simple makeup tips and tricks (cheats) that make us look like we know what we're doing!
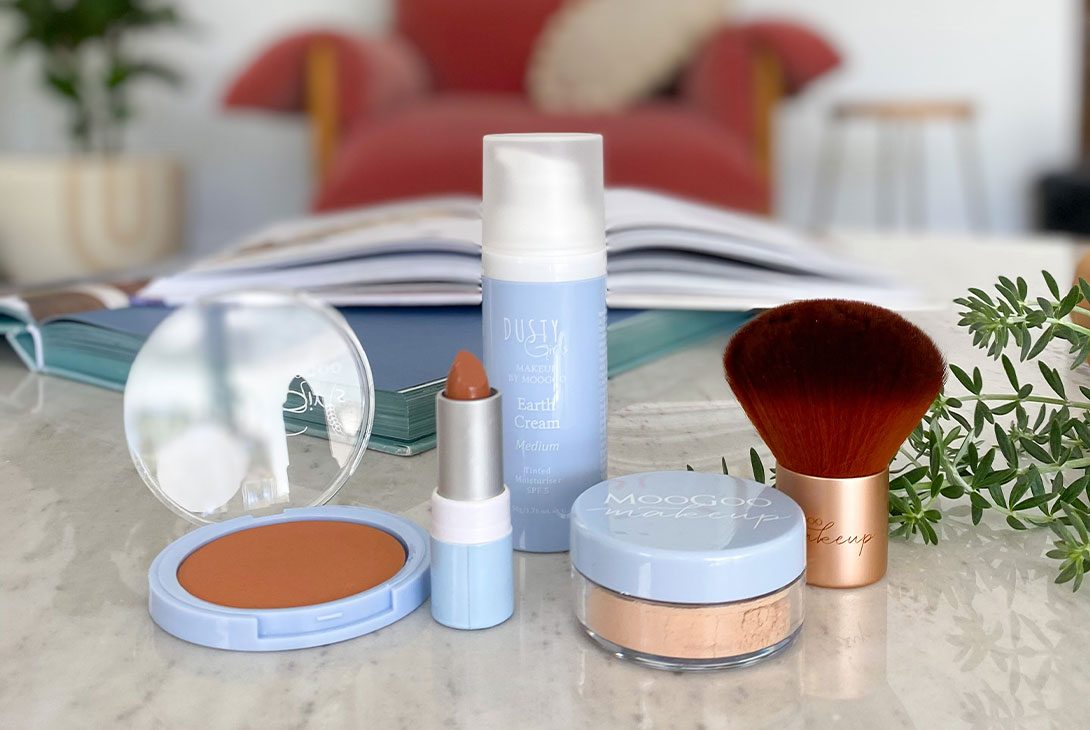
Bronzer Hacks!
If you want to earn a gold medal in bronzing, then here are the 3 must-know tips to get there. Plus an extra tip on how to get even more glow! (yes, it's possible).

1. The Magic 3
If you’re new to Bronzer or aren’t super makeup savvy here’s a great rule of thumb in where to apply it. Just remember 3. Picture each side of your face like a 3 and trace it. Start at the centre of the 3 (where your cheekbone is). We do this because the most product will come off the brush where you first place it, and we want it at the cheekbone because that defines and sculpts the face the most. Then start around the sides of the forehead, a brush over the nose and follow the path underneath the jawline. Remember to pay close attention to the patch right under your chin (this often gets forgotten).
2. Blend down your neck
(*Refer to incredibly helpful photo above on how to do this). Bronzer can be the only thing needed to take skin from tired and drab to fresh and awake. That is unless we don’t blend it down our neck. Stopping at the jawline only emphasises the bronzer and gives the entire illusion away (Gasp! We’ve been found out!). So always remember to dust over your neck, chest, back of your neck and even ears for a more seamless fineeto.
3. Use a powder before hand
In Rae Morris’s beauty bible, ‘Makeup Masterclass’ the phenomenal Makeup Artist says to use a powder before applying your bronzer to give your bronzer a silkier finish and avoid patchiness. You can use our Mineral Foundation Powder to achieve that. And then watch your Bronzer glide over that much smoother.
Highlighter Hacks!

1 Mix your highlighter + foundation together
There aren't too many loose highlighters on the market today, especially those with a really pearly finish that doesn't throw too much pink or gold. What we like to do with our Glowing Goddess Mineral Highlighter is tap a little out onto the lid and mix it with my foundation powder and then glide it all over. You can apply as much or as little depending on how much you want to GLOW!
2. Wet your highlighter
If you wet you highlighter by wetting your brush before dabbing it into the highlighter you'll get an even more pigmented finish. Perfect for inner corner gleam or a real strobing effect.
We Came, We saw, We Contoured.

Step 1:
Use the handle of your makeup brush to find the exact spot to place your contour. Everybody has a different face shape so everyone will place it differently. Get your handle and place it directly under your cheekbone on a diagonal angle. Right underneath your handle is the line you should follow with contour.
Step 2:
Grab your eyebrow pencil and lightly trace the line.
Step 3.
Then with your bronzer and an angled brush, lightly buff the contour out in circular motions towards your hairline above your ear. Trust me you can handle it
Blush Hacks!

Sculpted..
For a more sculpted and defined look, place your Mineral Blush under your cheekbones and blend into your bronzer (best way to do this is to put your blush on first before you bronze it up). It’s important to blend in upwards motions to elongate rather than shorten.
Natural...
For a more natural look focus on the apples of the cheek. This gives you that healthy flush associated with good health, a day at the beach and one other thing. It also makes your cheeks look plumper and fuller, perfect for those who want more of a youthful look.
Sunkissed...
For a sun kissed glow don’t be afraid to be more liberal with it. Place it on the apples of your cheeks, the tip of you nose, over your eyelids and even a little bit around the forehead. You won’t be going on a tropical holiday anytime soon but this will look like you have.
Eye Makeup Hacks – Even Eye can do it!
1.#Smokey eye
You don’t have to be uncoordinated to mess up a smokey eye. They look so great but they’re still the most intimidating makeup look for a reason. Well, we’re about to share with you this incredible hack that even the most artistically challenged can achieve. Draw a hashtag, that’s right a hashtag. Using a creamy eyeliner pencil (we opt for brown) draw a hashtag on the outer v of your eyelid. Then, with a blending brush or even a sponge, blend. Top it off with a little bit of shimmer and done. Even eye (see what I dd there) I can do it #easy.

2. The ultimate cat-eye cheat
If you struggle (many women) or have a complete meltdown (me) every time you try to do a cat eye, try these ingenious hacks. For a sharp wing get a card (any credit, medicare or libary card will do), sanatise it, and place it angled alongside your eyelid pointing towards your temples. Trace alongside it and blend out gently with a dense pointed eyeliner brush. There you have a soft and subtle crisp wing eye liner suitable for everyday, in office or nights out.
Cat-eye: If you want more of a curved angle that’s possible too. Now this one is a little tricker. Take the handle of the spoon to draw the bottom part of the wing and then use the curve on the tip of the spoon to draw the top of the wing. Ta-Da! you can do eyeliner now and no one will ever suspect differently. P.S. You can also use a spoon as a mascara shield. Hold the spoon over your lid as you do your mascara and none will go over your lid. How Nifty!
Lipstick Hacks!

1. Perfect cupids bow
X doesn’t equal Y, in this case, it equals a perfect cupids bow. The easiest and quickest way to define your cupids bow is to take your lip liner and draw an ‘X’ on the top of your cupids bow. And then begin to fill in the rest with your lipstick.
2. Lunch proof lipstick
Want a red lip that doesn’t bleed into the corners or start to move throughout the day. If you’ve ever tried eating with a red lip, you’ll know the pain. The solution: set your lipstick with powder. This may sound crazy and to be honest, if it wasn’t for the result, I would be sceptical too. But I guarantee once you try it you won’t be able to go back. Here’s how: Put on whatever lipstick you like, grab a tissue and lay it over your lips and then lightly dust some translucent powder over the top. This will set your colour, and stop it from wandering and bleeding.

Done and done!
And there you have it. These simple tricks can make a huge difference in the way we apply our makeup, the easier it is and the results we get back. We are very aware that there is no doubt we have missed some incrdible makeup hacks so if you know any, don't hold out on us! If you have any ingenious makeup hacks, we’d love to hear them. Comment below or message us directly!